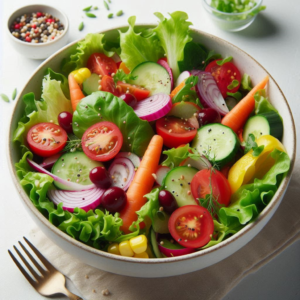
We all love a good salad, and it doesn’t get any better than using fresh picked vegetables.
The first step for any productive indoor Salad Garden is to get an assessment of the lighting in your apartment. Different salad greens will have different specific light preferences, so knowing whether you have bright, moderate, or low light will help to guide your choices. Greens like spinach and arugula are pretty forgiving and can handle less sun, which makes them great for rooms with limited natural light.
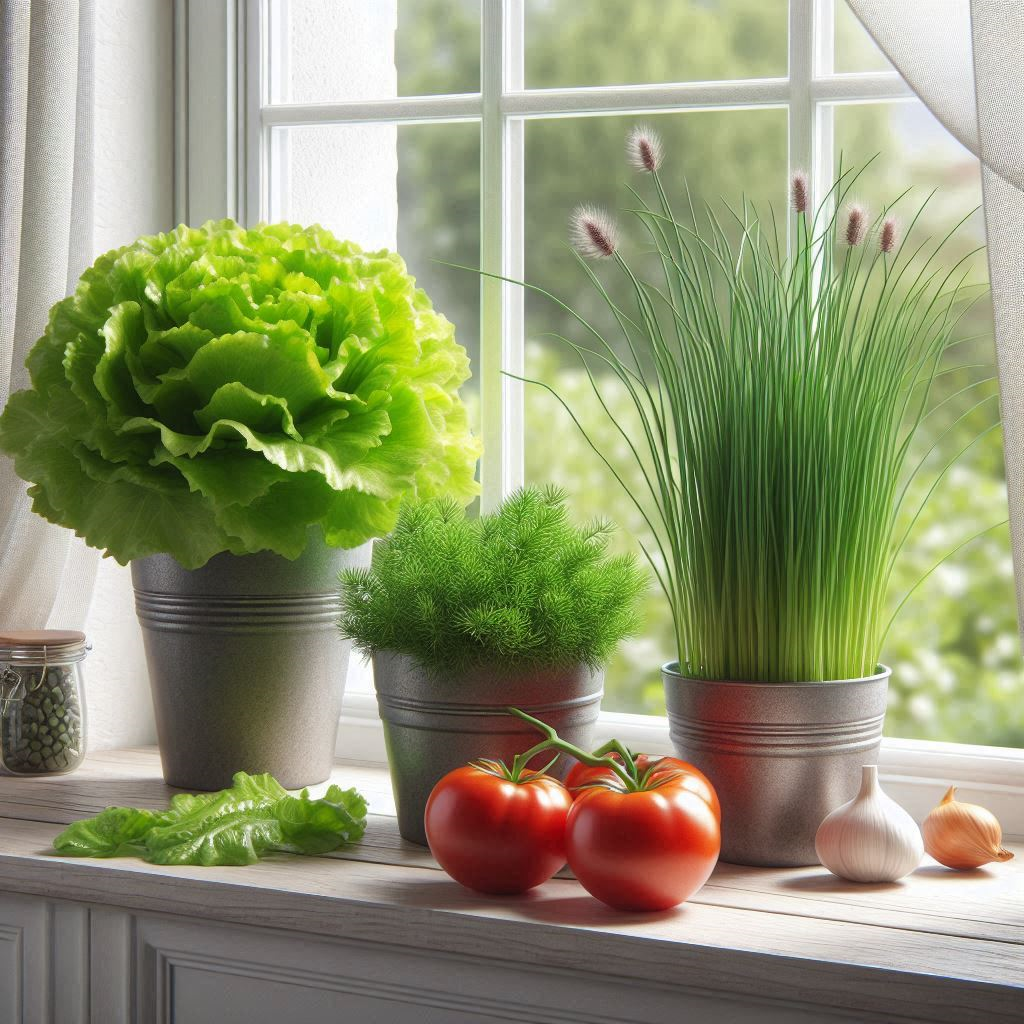
The next step is picking the right containers. Space is often tight in apartments, so go for the containers that fit the space you have but are deep enough to allow for root expansion. Even old kitchen pots or repurposed storage bins can do the trick. You may need to drill drainage holes so get creative!
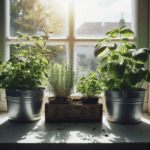
Designing your salad garden layout is all about maximizing your space. Use your windowsills effectively or maybe take advantage of a small balcony. Tiered plant stands can give you more planting space vertically. Just be sure that wherever you choose, your plants will have access to enough light throughout the day, especially those vegetables that crave light.
Essential tools don’t have to be extravagant—a pair of scissors, a small trowel, some quality potting mix, and a watering can are usually enough to get started. It’s all about making sure you’re set up for success from the word go.
Cultivating Your Greens: Step-by-Step Guide to Indoor Salad Growth
Preparing the soil is crucial for robust growth. Choose a rich, organic potting mix that offers good drainage. Mix in a little compost, this will provide essential nutrients that your salad greens will definitely appreciate.
Selecting seeds comes next, and choosing organic options ensures you’re growing a completely natural salad. Look for easy-to-grow varieties like leaf lettuce or kale, as they’re usually more forgiving for beginners.
Watering can be a bit of a balancing act. Your plants need enough moisture to thrive but not so much that their roots sit in water. Make sure your containers have drainage holes and consider using a spray bottle for more controlled watering.
For a steady supply of greens, try staggering your plantings. Sow seeds every couple of weeks to ensure you always have fresh young plants coming up. This way, you won’t end up with a glut of greens that are past their prime all at once.
You might encounter pests even indoors, so be proactive. Keep an eye out for things like aphids or mold. Neem oil or homemade solutions like garlic spray can deter pests without harming your plants.
Harvesting and Enjoying: From Garden to Table
Harvesting your greens is an exciting step, and doing it right encourages more growth. Use scissors to snip the leaves about an inch from the base. This lets the plant regenerate, giving you a continuous supply of fresh greens.
Turning your greens into a delicious meal is the next step. Freshly picked salad greens can be the star of your lunch or dinner. Mix different varieties for a more complex flavor, and add in extras like nuts, cheese, or seasonal fruits.
Experimenting with homemade salad dressings can really elevate your dish. Simple vinaigrettes made from olive oil, vinegar, and a bit of seasoning can enhance the natural flavors of your greens. Try adding herbs for something special.
If you have more greens than you can handle, preserving them is a great option. Freezing is quick—just blanch the greens before putting them in the freezer. Drying them can keep their flavor too, useful for soups or casseroles later on.