📱 Build Smarter, Water Less, Grow More—Even in Tight Spaces
Urban gardening can feel like a bit of a circus act—juggling sunlight, soil quality, tight spaces, and unpredictable watering routines. Whether you’re working with a postage-stamp patio, a cramped balcony, or a few windowsills, gardening in the city demands smart, space-saving solutions.
For many whose home is the city, the challenge isn’t enthusiasm—it’s finding time and tools that work in small, often chaotic environments. Between work, traffic, and life in general, it’s easy to forget to water your basil—or overcompensate and drown it instead.
That’s where self-watering containers for urban gardeners come in. These clever systems take the guesswork out of watering and give you more freedom to enjoy your plants instead of worrying about them.
🌆 Overcoming Urban Gardening Hurdles with Innovative Self-Watering Solutions
Urban gardeners face a familiar list of challenges:
- Limited space: Most urban gardens are confined to balconies, fire escapes, or window ledges.
- Watering hassles: Dragging a watering can through an apartment or down a stairwell gets old fast.
- Busy schedules: Life doesn’t slow down for plant care, and skipped waterings can mean wilted crops.
Fortunately, self-watering containers are a modern solution to these timeless issues. By using a reservoir + wicking system, these planters create a low-maintenance environment where plants get consistent hydration without daily watering.
Even better, they adapt beautifully to urban settings—nestling into corners, hanging from rails, or even lining your kitchen windowsill. It’s like putting your garden on autopilot, but with the same lush results.
🔍 Demystifying Self-Watering Containers: The Science and Mechanics Behind Them

So, how do these things actually work?
At the heart of a self-watering container is a reservoir—a space at the bottom that holds water. Through a process called capillary action, moisture is drawn upward via a wick or the potting mix itself. The plant’s roots access water as needed, avoiding the feast-or-famine cycle typical of manual watering.
🧪 The Mechanics in Simple Terms:
- Reservoir: Stores water under the root zone.
- Wicking System: Transfers moisture upward gradually.
- Soil: Acts as both a growing medium and part of the water delivery path.
This method creates a stable moisture level in the root zone—one of the most critical factors in plant health.
🔬 Common Wicking Materials:
- Cotton rope or strips of old t-shirts
- Felt or polyester cloth
- Synthetic wicking cord (available at garden centers)
- Even perlite or sand in some builds
Choosing the right wick is crucial—it must stay saturated but not rot, and it should draw water consistently upward into the soil.
🌿 Urban Gardening Revolution: The Benefits of Self-Watering Planters
If you’ve ever come home to a crispy plant or dragged soggy pots through a hallway, you already know why self-watering containers are so appealing.
🌟 Benefits:
- Time-saving: Water less frequently—sometimes as little as once every 7–10 days.
- Space-efficient: Ideal for vertical stacking or tucking into tight corners.
- Water-wise: Uses less water with virtually zero runoff or evaporation loss.
- Consistent moisture: Prevents plant stress and boosts growth.
- Great for beginners: Removes the #1 cause of plant death—improper watering.
💡 Real-Life Examples:
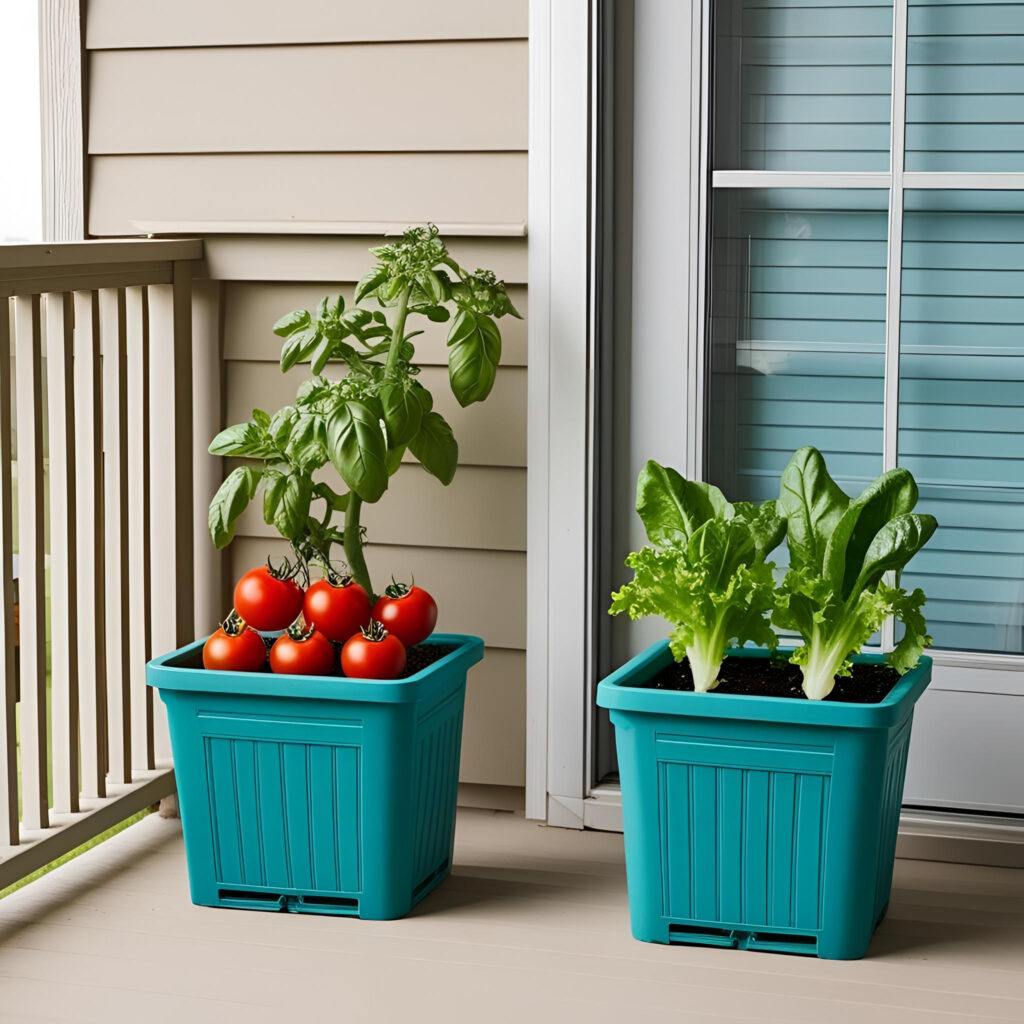
- A chef in a city apartment keeps fresh basil and mint alive year-round with just two 5-gallon self-watering buckets near the kitchen window.
- A family in a small condo, patio grows three tomato plants and salad greens without daily watering, even in summer heat.
⚠️ Considerations:
- Self-watering containers can be heavy when full—choose a stable, safe spot.
- Some initial setup learning is required, especially if you DIY.
- Not all plants love constant moisture. Avoid growing drought-lovers like rosemary, lavender, or succulents in these containers.
🛠️ Creating Your Own Self-Watering Oasis: A DIY Guide for Urban Dwellers
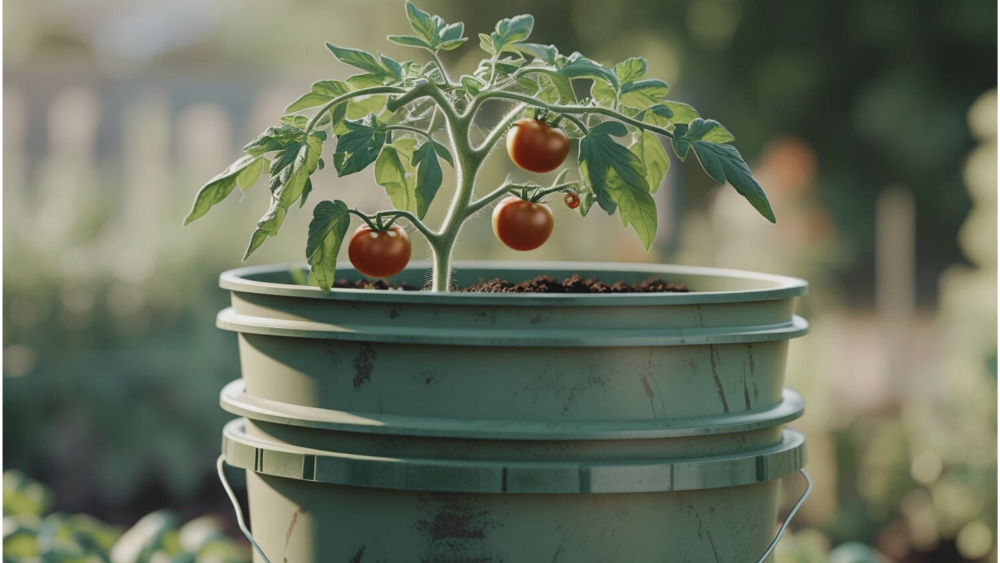
Ready to build your own? Don’t worry—it’s easier than you think. With a few basic tools and materials, you can build a functional, affordable self-watering planter using buckets or totes.
🧰 Materials List (for Bucket Method):
- 5-gallon food-grade bucket with lid
- Small plastic container or net cup (for reservoir support)
- Drill
- Cotton wick or polyester cloth strip
- Potting mix
- Optional: PVC pipe or water bottle for refill spout
- Optional: Gravel or perlite for bottom layer
🪛 Step-by-Step: 5-Gallon Self-Watering Bucket
- Create the water reservoir:
Place the smaller container upside down inside the bucket as a platform. Drill drainage holes in it if needed. - Insert the wick:
Cut a cloth strip and insert it through holes into the reservoir so it touches the water and reaches into the soil layer above. - Add drainage holes:
Drill a small overflow hole in the side of the bucket, just above the reservoir level. - Fill with planting medium:
Start with gravel or chunky perlite, followed by rich potting mix. - Add your plant and water in:
Pour water into the reservoir until it reaches the overflow hole. Let the wick do the work!
I found a couple of videos. There are many ways to self-water Video #1 Video #2
♻️ Bonus: Upcycle for Sustainability – Upcycled Planter Ideas:
- Use old coolers, storage bins, yogurt tubs, or even plastic kitty litter jugs.
- Line them with a DIY wick + soil setup and you’ve saved money and prevented landfill waste.
Get creative with unused household items—totes, yogurt containers, or storage bins make excellent DIY planters. You’ll save money and reduce waste while growing something delicious.
It’s sustainable, smart, and surprisingly satisfying.
🌱 Expert Insights and Plant Choices for Flourishing Self-Watering Gardens
🔄 Keep It in Balance:
- Don’t top off the reservoir constantly—allow some drying between refills to avoid root rot.
- Use light, fluffy potting mix, not heavy garden soil.
- Refill the reservoir once a week, adjusting based on sun exposure and plant size.
🌱 Best Plants for Self-Watering Systems:
- Herbs: Basil, mint, parsley
- Vegetables: Tomatoes, peppers, leafy greens
- Ornamentals: Ferns, begonias, impatiens
These plants love consistent moisture and tend to thrive in self-watering setups.
☀️ Placement Tips:
- Choose a bright but indirect light location.
- Too much direct sun = quicker water use (monitor more frequently).
- For patio or balcony setups, ensure the surface can handle water weight.
🧼 Maintenance Tips:
- Clean reservoir monthly to avoid algae or odors.
- Refresh soil every 6–12 months for best results.
- Periodically trim wicks if they degrade or get moldy.
❓ FAQ: Self-Watering Containers for Urban Gardeners
Q: Can you overwater with self-watering containers?
A: It’s possible if you constantly refill the reservoir without allowing it to deplete. Watch your plant’s behavior and soil texture—less is often more.
Q: How do I know when to refill?
A: Stick your finger into the soil—if it’s dry 2 inches down, check the reservoir. You can also add a water-level indicator (like a clear straw or float).
Q: What are good materials to upcycle?
A: Look for anything food-safe, waterproof, and lightweight: old buckets, drink coolers, plastic totes, or even deep salad containers.
🔚 Conclusion: Let Your Garden Water Itself
With a little creativity and a few tools, you can build your own self-watering containers for urban gardeners and make the most of your space. These systems reduce stress, save water, and keep your plants thriving—even when life gets busy.
Looking for more DIY garden upgrades? Check out our guides on composting in small spaces and growing herbs indoors to round out your urban jungle care goes a long way in keeping your urban oasis thriving.