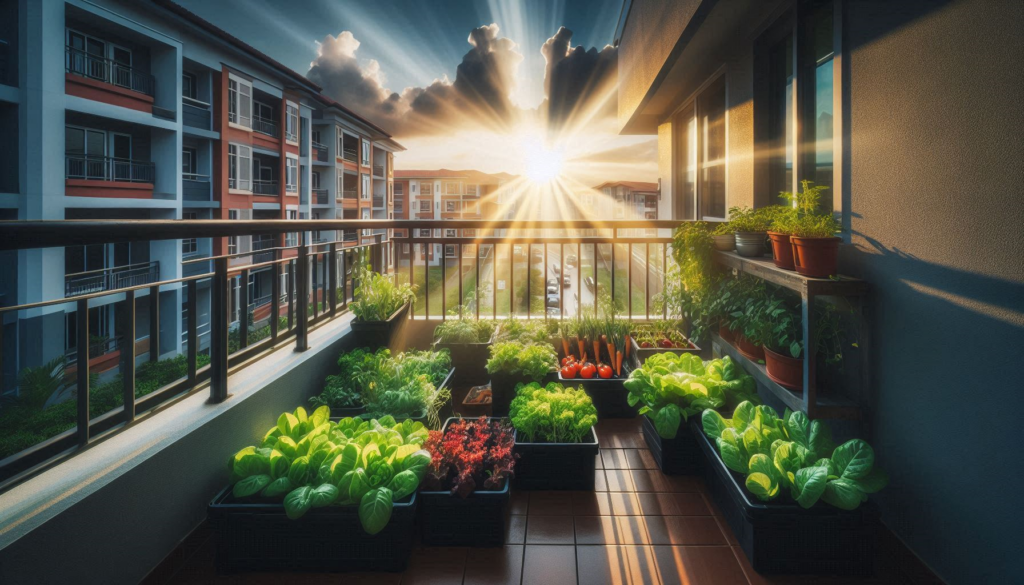
🌱 Introduction: Setting the Stage for a Productive Season
This guide will walThis guide will walk you through preparing raised beds and containers for planting so you get the best results right from the start.
If you’ve already got peas in the ground, you’re ahead of the game — and that’s exactly how momentum begins.
While those early crops are doing their thing, now is the perfect time to prepare everything else. Properly prepping your raised beds and containers helps support:
- Strong root development
- Better water retention
- Fewer pests and diseases
- Higher yields in small spaces
👉 This is where the foundation for a strong growing season is built.
🧹 Step 1: Preparing Raised Beds and Containers for Planting Starts Here
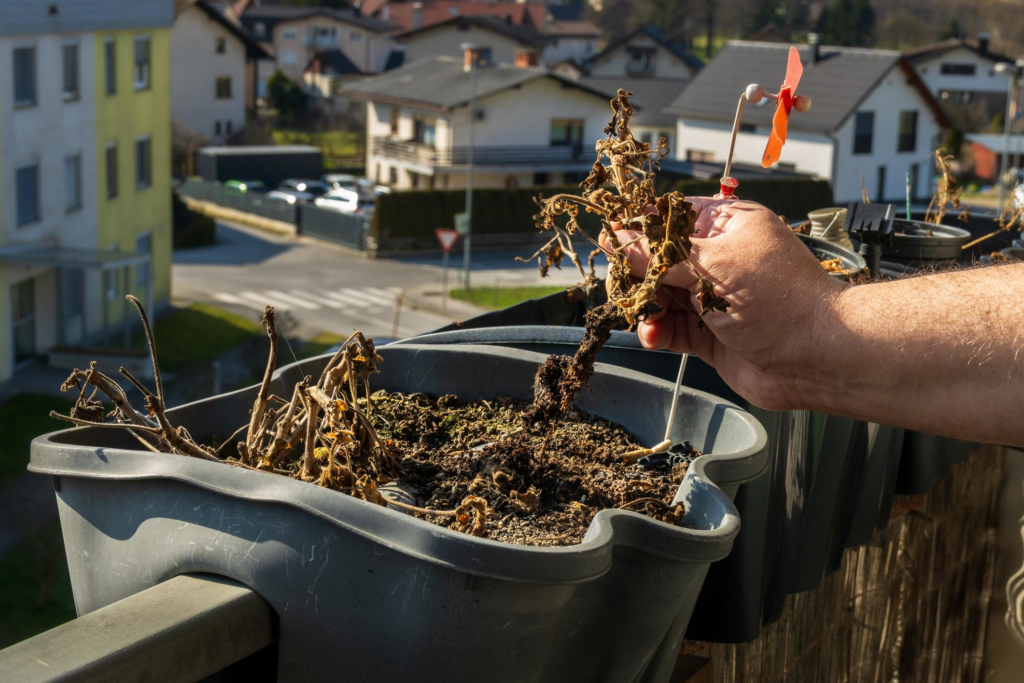
Step 1: Clear Out and Refresh Your Growing Space
Even if your beds look “okay” in spring, they still need a reset.
What to do:
- Remove dead plants, roots, and debris
- Pull any early weeds before they establish
- Break up and loosen compacted soil (especially after winter)
- Check for pests hiding in old material
🐛 Dealing with Hidden Pests During Cleanup (Quick Fix)
If you uncover pests while clearing out your beds or containers, fix it NOW!! Don’t give them a chance to get a foothold and spread!
- Remove and discard heavily infested soil or plant debris (don’t compost!)
- Hand-pick visible pests like grubs, larvae, or beetles
- Rinse roots and containers – if reusing them
- Apply a light treatment like:
- Neem oil (for general pests)
- Diatomaceous earth (for crawling insects)
- Let the soil dry slightly before replanting to discourage larvae
👉 Catching pests early is one of the easiest ways to prevent bigger problems later in the season.
👉 In small spaces disease can build up faster! — cleaning matters much more than in large gardens.
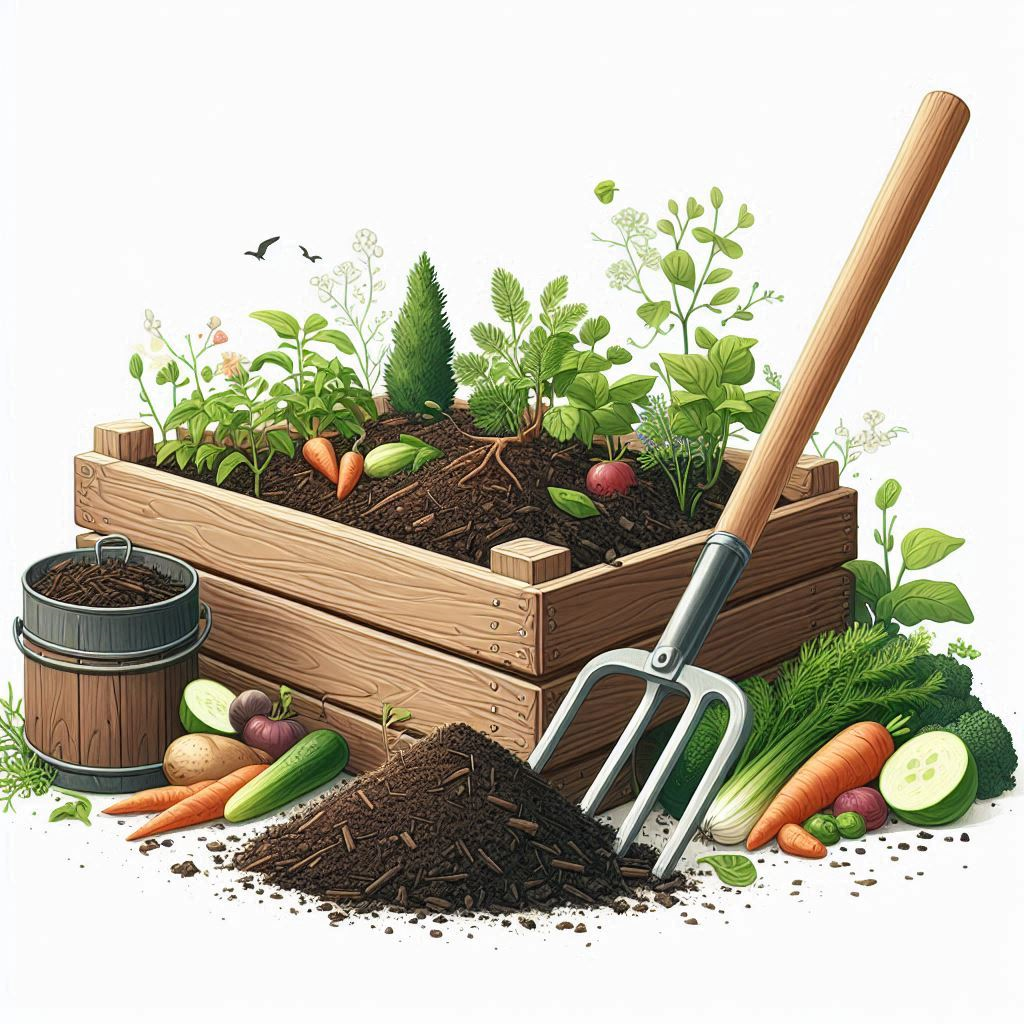
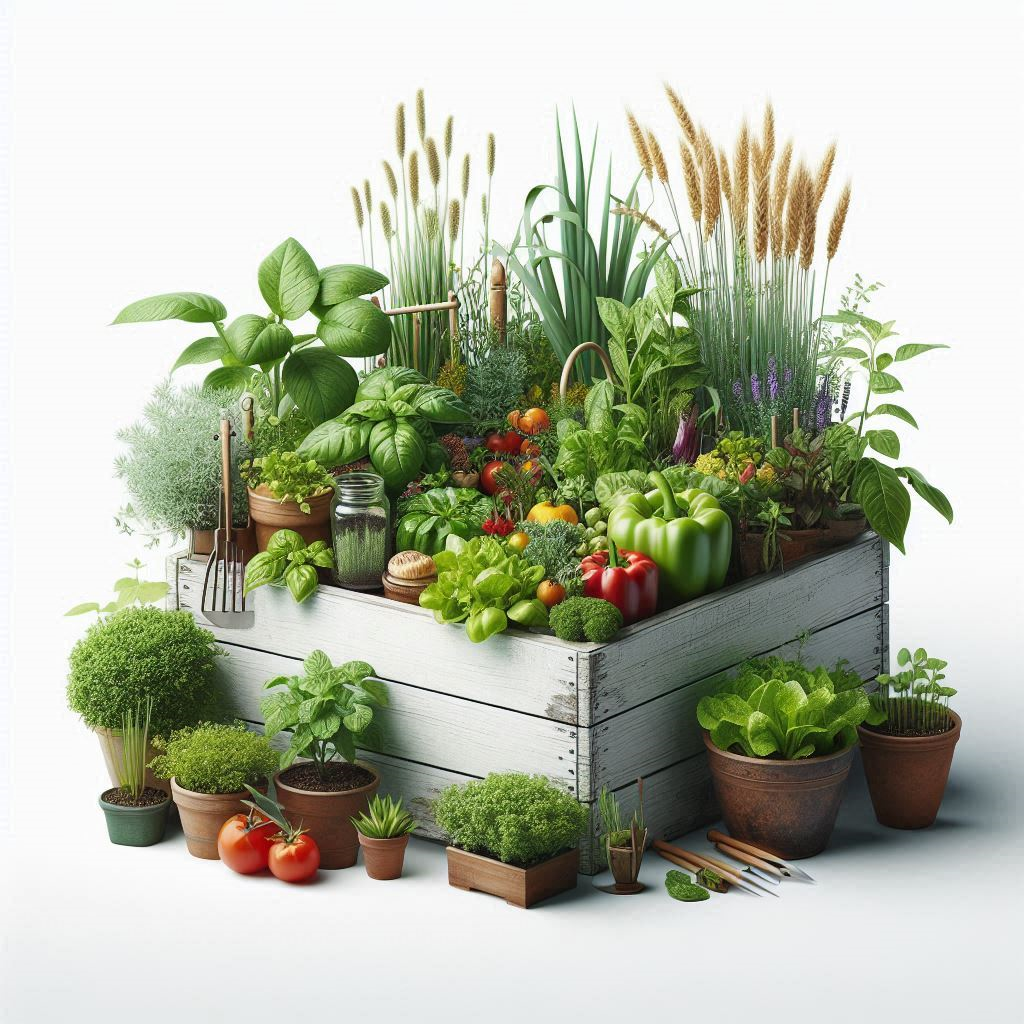
🌿 Step 2: Rebuild Your Soil (This Is Everything)
Soil is the engine that makes your garden go — and after a season (or even a few months), it’s gets depleted and this guide will walk you through preparing raised beds and containers for planting so you get the best results from the start.
To start the season off on the right foot consider a simple soil test at the start of the season.
It can reveal nutrient imbalances or pH issues that aren’t obvious but can affect plant growth — especially in containers and small raised beds.
I found an easy-to-understand and engaging guide to soil basics from Planet Wild if you want to dig a little deeper. Guide to soil from Planet Wild
Refresh your mix:
- Loosen and aerate the soil
- Add compost (your best friend)
- Mix in organic fertilizer or slow-release nutrients
- Top off beds that have settled
For containers:
- Replace at least 25–50% of old soil
- Or fully refresh for heavy feeders (like tomatoes later)

A simple layering approach helps improve drainage and long-term soil structure. This is only one method; many gardeners have their favorite layering techniques that work as well.
♻️ Composting Old Soil?
Not all old soil should go straight into your compost — but a lot of it can.
Safe to compost:
- Soil from healthy plants
- Old potting mix without pests or disease
- Beds that produced well but just need a refresh
Avoid composting if you notice:
- Signs of disease (mold, rot, unusual spots)
- Heavy pest infestations (larvae, grubs, eggs)
- Fungus gnat problems or sour-smelling soil
👉 When in doubt, it’s better to discard questionable soil than risk spreading problems into your next planting cycle. I’ve learned it’s not worth trying to save bad soil — it can come back to bite you later in the season.
💧 Step 3: Check Drainage (Most Overlooked Step)
Drainage can make or break container gardening.
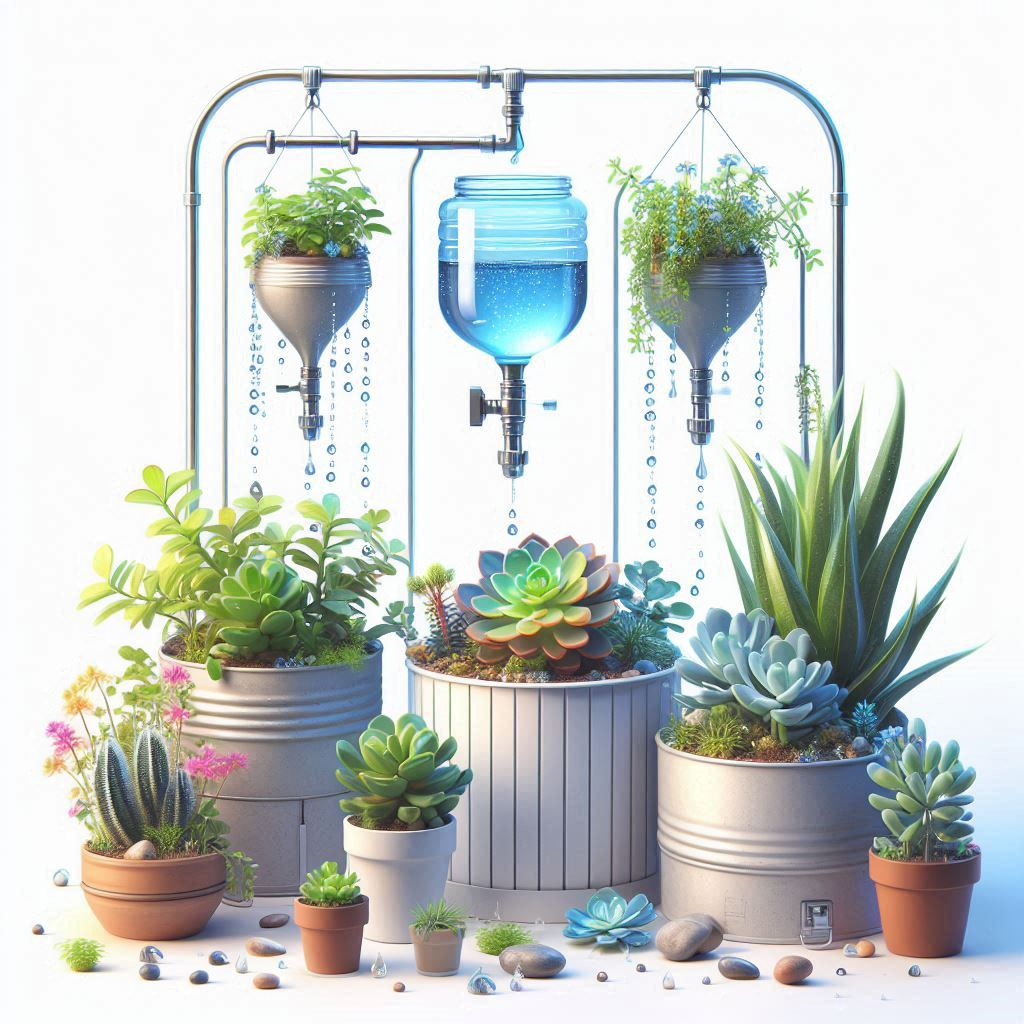
Make sure:
- All containers have clear drainage holes
- Soil isn’t compacted or waterlogged
- Water flows through — not pools
👉 Quick test:
Water your container — if it doesn’t drain within a minute or two, fix it now.
💧 How to Test Drainage in a Raised Bed
The “Water Test” (quick and reliable)
- Dig a small hole
- About 6–8 inches deep
- Fill it with water
- Let it soak in once (this pre-wets the soil)
- Fill it again and time it
⏱️ What you’re looking for:
- ✅ Good drainage: water drains within 30–60 minutes
- ⚠️ Slow drainage: takes a few hours
- ❌ Poor drainage: water sits or pools for long periods
Proper layering is important for good drainage in your raised beds.
Example: 5 Layers of a raised bed garden providing proper drainage.
Over time, these lower layers will break down and settle — so expect to top off your bed each season.
🌞 Step 4: Position for Maximum Sunlight
You can’t change the sun — but you can optimize for it.
Tips:
- Most vegetables need 6–8 hours of sunlight
- Rotate or reposition containers as the season changes
- Use reflective surfaces (walls, railings) to boost light
For raised beds, choose your location carefully from the start.
Unlike containers, they’re not easy to move — so pick a spot that gets consistent sunlight throughout the day and isn’t blocked by buildings, fences, or trees.
Morning sun is especially valuable and often overlooked.
It’s gentler on plants, helps dry off moisture (reducing disease), and gives crops a strong start before the harsher afternoon heat.
I’ve learned it’s worth watching how the sun hits your space for a day or two before committing to a raised bed location.
👉 Your peas are the cool early season champs — but your next crops will demand more sun.
🌱 Step 5: Plan Your Next Planting (Succession Strategy)
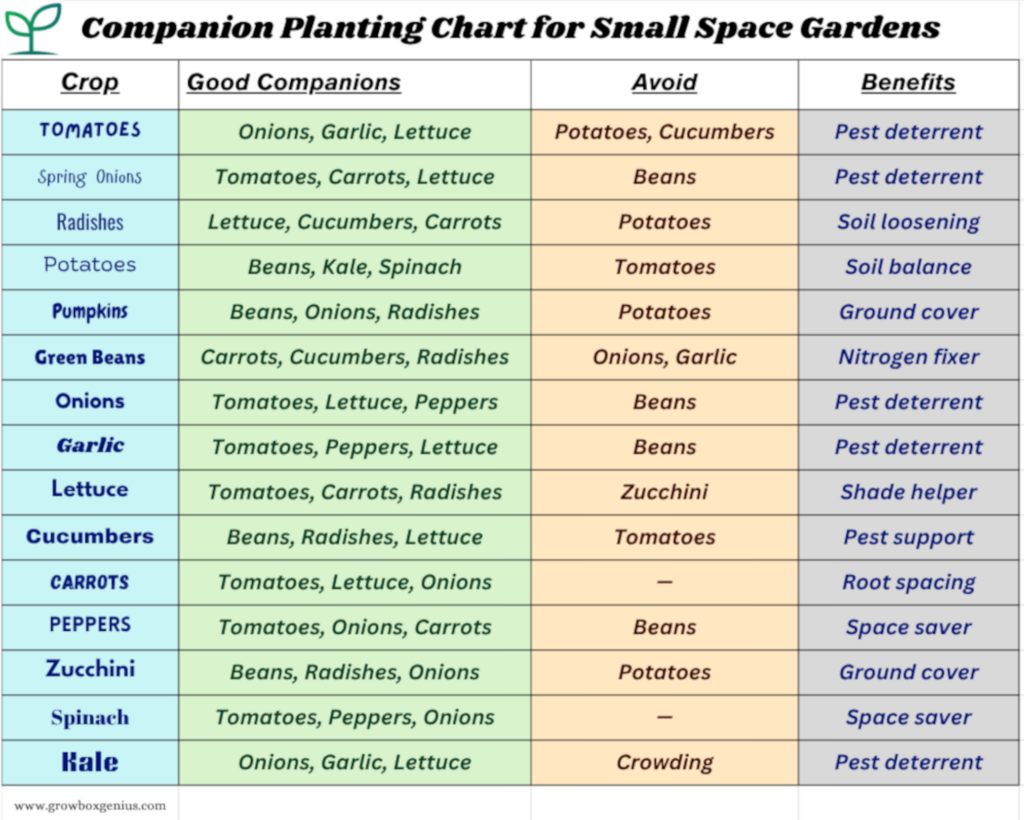
Use this as a quick reference when deciding what to plant together.
Download Companion Planting Chart – pdf
What comes next:
- Leafy greens (lettuce, spinach)
- Radishes (fast turnover)
- Herbs (compact + high value)
Grow in layers:
- Peas grow vertical
- Add low growers underneath or nearby
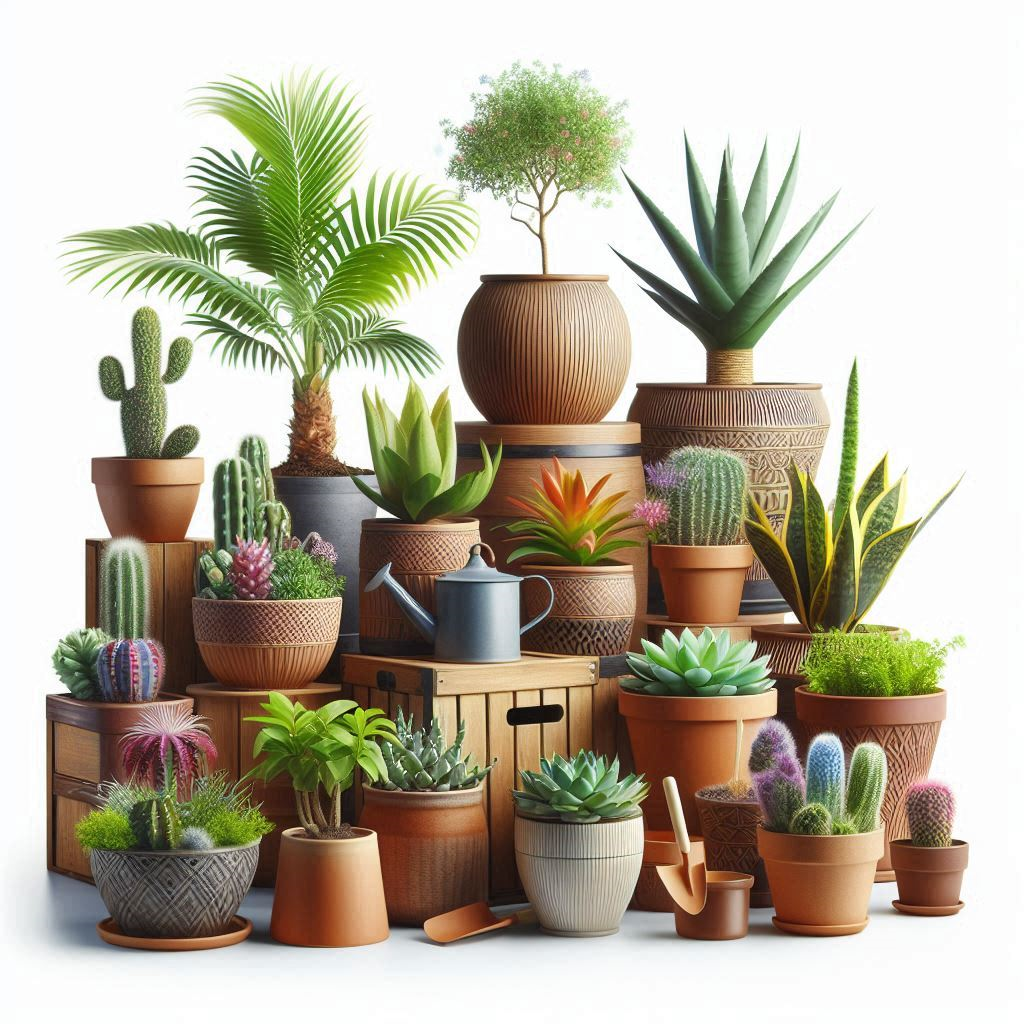
🪴 Step 6: Prep Containers the Right Way
Best practices:
- Use high-quality potting mix (not garden soil)
- Match container size to plant type
- Don’t overcrowd — roots need space
⚠️ Common Mistakes to Avoid
- Reusing dead soil without amendments
- Overwatering early in the season
- Ignoring drainage issues
- Planting too much too soon
- Using containers that are too small
🌼 Final Thoughts: You’re Already Ahead
Starting with early crops, like peas is a smart move — and now you’re setting up everything else for success.
This phase isn’t flashy, but it’s foundational.
The work you do right now determines how easy (or frustrating) your season becomes.
This guide will walk you through preparing raised beds and containers for planting to set the stage for a strong, productive season.